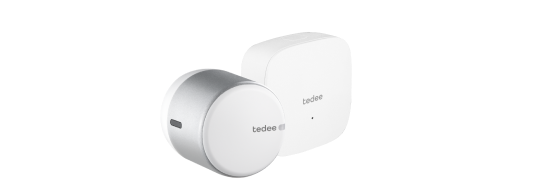
Tedee keypad: installation
Before you install your Tedee keypad outside your door, make sure to activate the included batteries and check if the device is able to turn on.
Battery installation
Remove the screw mounting the rear cover using a Customized Torx key.
 Remove the rear cover of tedee keypad.


Tedee keypad can be installed with screws or adhesive tape. Choose your method below.
Installation with screws
Press the back cover of the keypad against the wall. Use a pencil to mark the places for the wall plugs. Drill two holes in the marked places.Ii


Related articles:
- Tedee app
- Mobile widgets
- Tedee keypad: manual locking
- Pull spring
- Access links
- Tedee Portal
- Access sharing
- Tedee GO/PRO: calibration
- Tedee PRO: charging
- Pairing Tedee devices with the app
- Tedee smart bridge: installation
- Tedee GO: installation
- Rental: app unlocking
- Rental: PIN unlocking
- Tedee keypad: configuration
- Tedee PRO: installation
- Cylinder: M&C replacement
- Cylinder: GERDA replacement
- Tedee PRO: installation on a cylinder
- Tedee PRO: installation on a Nordic / Scandinavian adapter


