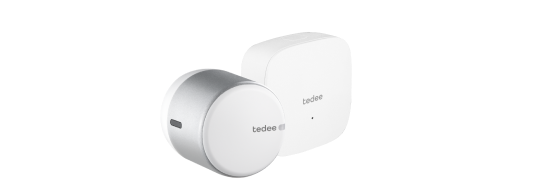
Tedee GO/PRO: calibration
How to calibrate Tedee smart locks? Two or three steps follow the installation or resetting of the device to give your Tedee GO or Tedee PRO the guidelines of how to correctly rotate to lock and unlock your door. The calibration takes just a minute: follow our guide to see how it’s done.
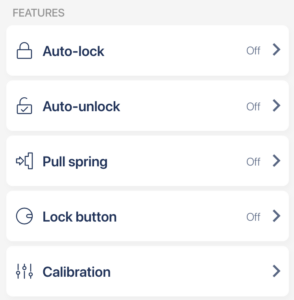
Calibration starts right at after pairing the device with the Tedee app. You can also always access it via your smart lock’s Settings panel, in case you want to adjust its scope of rotation.
The calibration contains three steps – locking, unlocking, and pulling the spring. If you disable your pull spring feature but turn it back on, you will be asked to repeat this calibration step.
Learn more about the pull spring feature >>
Calibration process is the same for both Tedee GO and Tedee PRO smart locks, working on all kinds of hardware: standard or dedicated Tedee cylinders, as well as adapters. It is not important if your lock uses cam or gear mechanism.
Begin with an open door, so you can clearly see the lock bolts hiding and extending.
Step one: rotate the smart lock to fully extend the door lock’s bolts.
Step two: rotate the smart lock back to fully hide the door lock’s bolts.
Suppose, after fully hiding or extending the bolts, you feel some rotation angle still available. In that case, there is no need to continue the rotation. The additional movement will make the smart lock’s rotations longer and more energy-consuming.
Pull spring calibration: simply launch this calibration step when the lock is in an unlocked position and not manually rotated.
Related articles:
- Tedee keypad: manual locking
- Pull spring
- Tedee PRO: charging
- Pairing Tedee devices with the app
- Tedee smart bridge: installation
- Tedee keypad: installation
- Tedee GO: installation
- Rental: app unlocking
- Rental: PIN unlocking
- Tedee keypad: configuration
- Tedee PRO: installation
- Cylinder: M&C replacement
- Cylinder: GERDA replacement
- Tedee PRO: installation on a cylinder
- Tedee PRO: installation on a Nordic / Scandinavian adapter
- Tedee PRO: installation on an European adapter


