








Tedee Keypad PRO Pull Bar
User guide and installation manual
| The Tedee Keypad PRO Pull Bar should only be installed by professional door hardware specialists.If you wish to install a Tedee Keypad PRO Pull Bar on your door, ask your local door installer to contact [email protected] for the pull bar range and installation details.
Be aware that Tedee may offer various finishes, types, and sizes of pull bars dedicated to the Tedee Keypad PRO. Installing the pull bar requires selecting a suitable product and a mounting method appropriate for the door leaf material, ensuring that the installation maintains your door’s security. DIY installation is only permitted if the door leaf has already been adapted for the installation of a compatible pull bar and equipped with dedicated mounting screws by a professional or the door manufacturer. |
Introduction
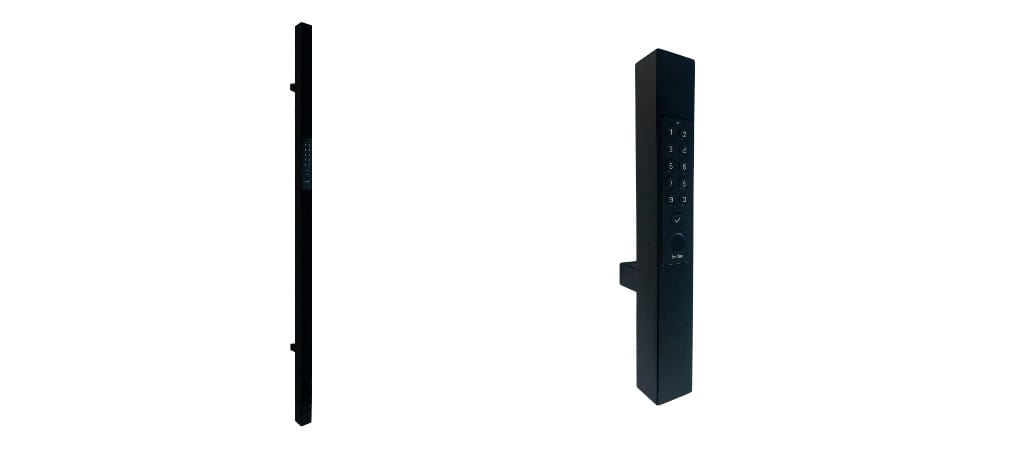
Tedee’s professional offer includes a range of door pull bars, compatible with the Tedee Keypad PRO. When used on the outside of the door leaf, the pull bar provides an elegant method of seamless device installation. With smooth integration into your door hardware, the Tedee Keypad PRO provides all its biometric and PIN-unlocking features, while maintaining a minimalist, premium finish.
As the Tedee Keypad PRO is battery-powered, its installation in a pull bar requires no running of cables through the door or installation of additional chargers.
More information about the Tedee Keypad PRO is available here >>
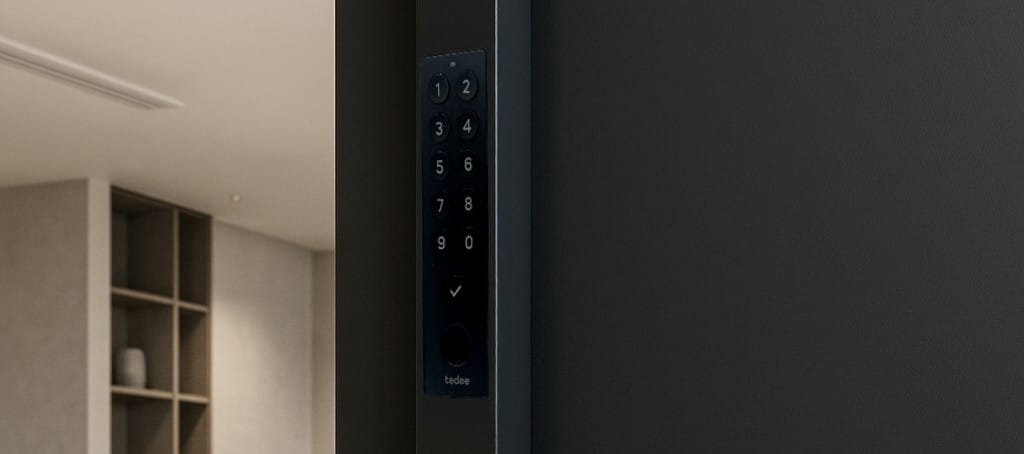
Door latch / Handle considerations
Typical pull bar-equipped doors do not use a separate pressable handle. In such setups, the lock spring is engaged by an additional key rotation angle in the cylinder after unlocking.
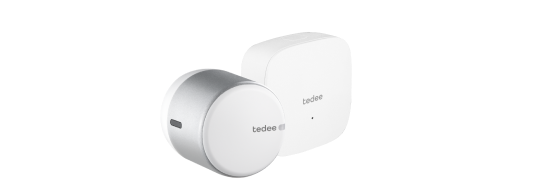
Tedee smart locks provide a separately configurable pull spring feature, activated via the Tedee Keypad PRO, which replaces the traditional pressable handle. Ensure this feature of your smart lock is enabled so that PIN or fingerprint unlocking operations are completed by pulling the spring.
Water resistance
The Tedee Keypad PRO is rain-resistant and suitable for outdoor installation. However, it is not intended for locations with prolonged, direct, and unobstructed exposure to water.
Keypad PRO Mount
The magnetic mounting plate is screwed onto the back of the Tedee Keypad PRO. The device is then inserted into a cavity inside the pull bar, where it attaches magnetically.
The device is not permanently fixed to the door and can be removed from the pull bar using basic tools. Always keep a smartphone with the Tedee app for access to your smart lock, and carry a traditional key with you for use in case of emergency.
Set Contents
The pull bar set includes:
- Pull bar
- Trim washer(s)
- Mounting screw(s)
- Magnetic mounting plate
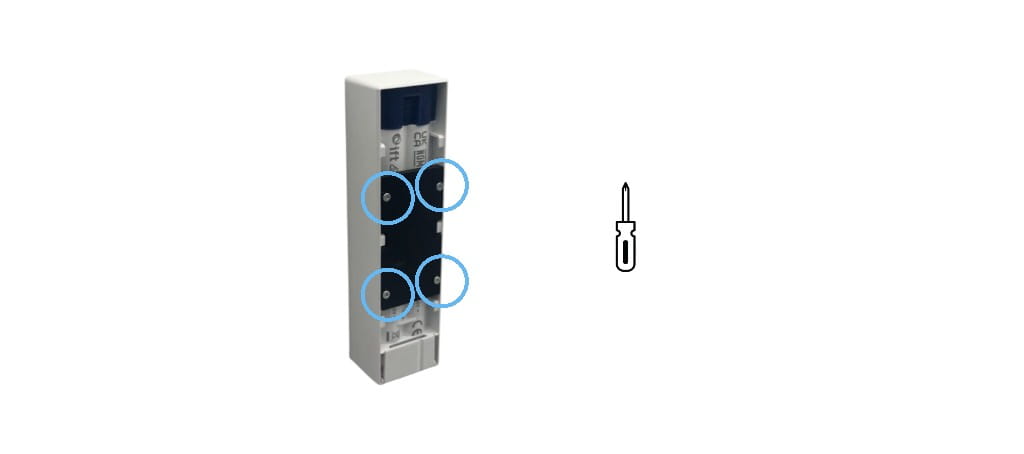
- 4 x Screws to mount the plate
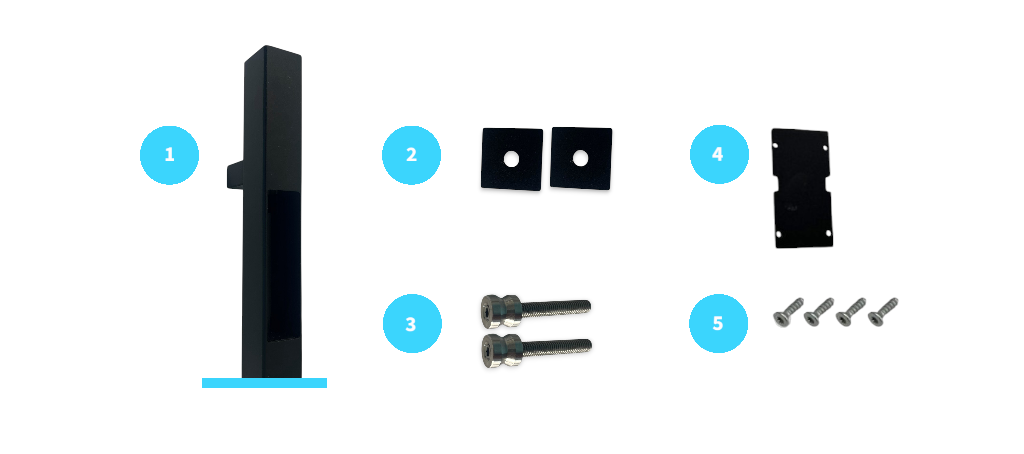
Installation
Pull bar installation
Insert the pull bar onto the mounting screws and secure each screw at the bottom of each mounting bracket with an Allen key.
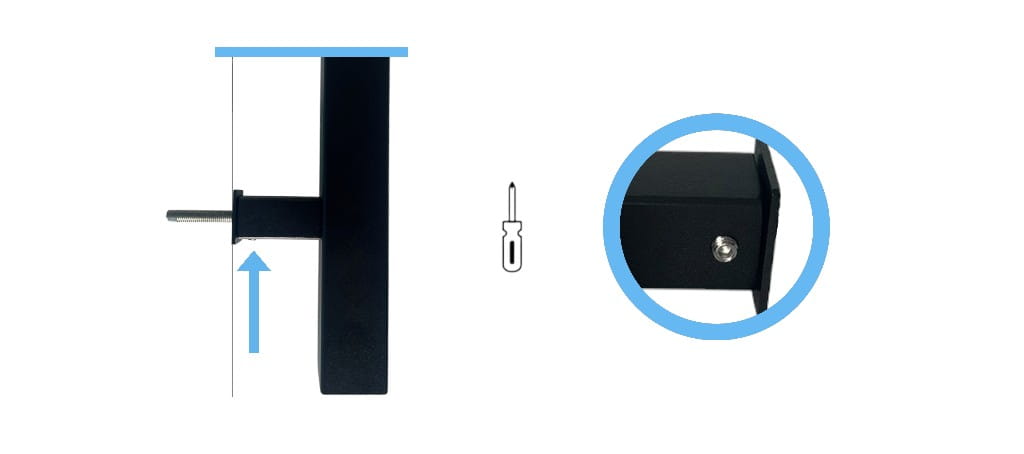
Tedee Keypad PRO installation
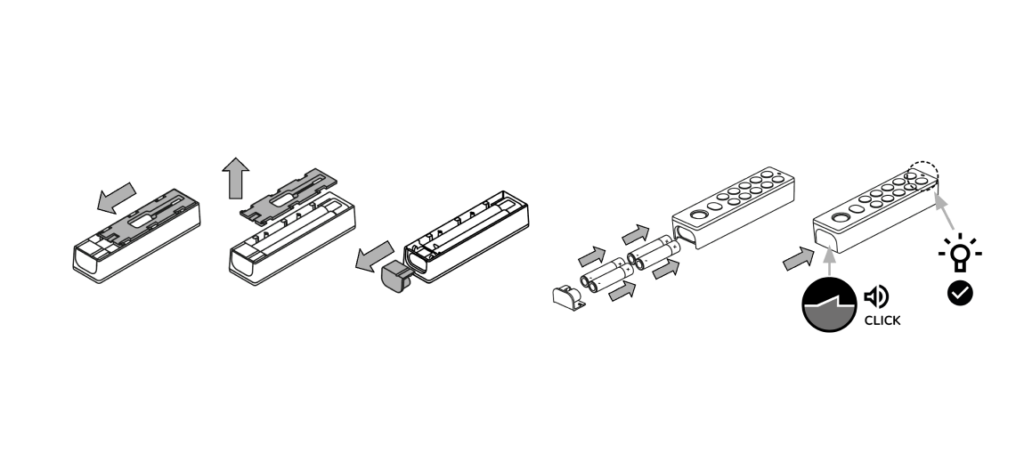
Slide down and remove the mounting plate from the back of the device.
Remove the battery plug from the base of the device.
Insert four AAA batteries, ensuring the correct “+” and “–” orientation, as shown in the illustration or by the engraved markings.
Reinsert the battery plug until it clicks securely into place.
The device will turn on automatically, indicated by the LED blinking in red, blue, green, and white.
Do not replace the default mounting plate.
Install the magnetic mounting plate onto the Keypad PRO using four mounting screws.
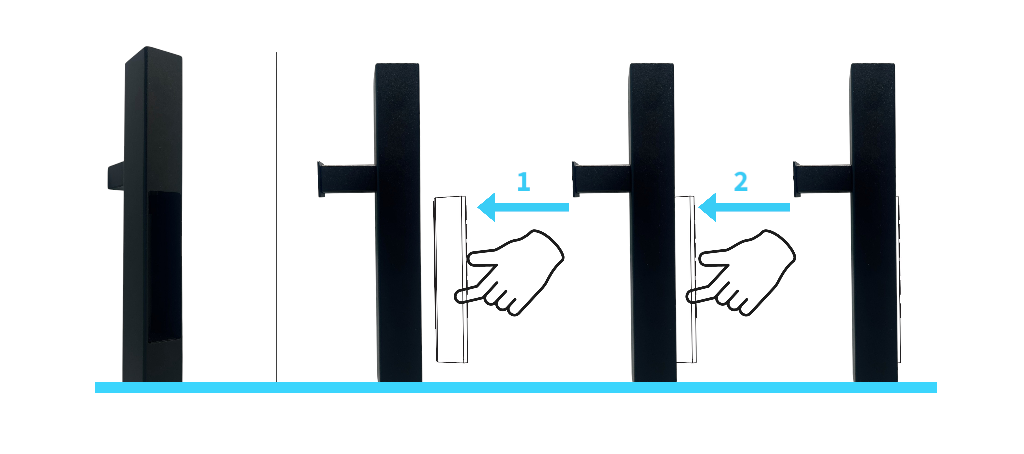
Parallel to the handle, insert the Keypad PRO into the cavity. The device will magnetically attach to the pull bar.
Activate the device in the Tedee app.
Tedee Keypad PRO installation
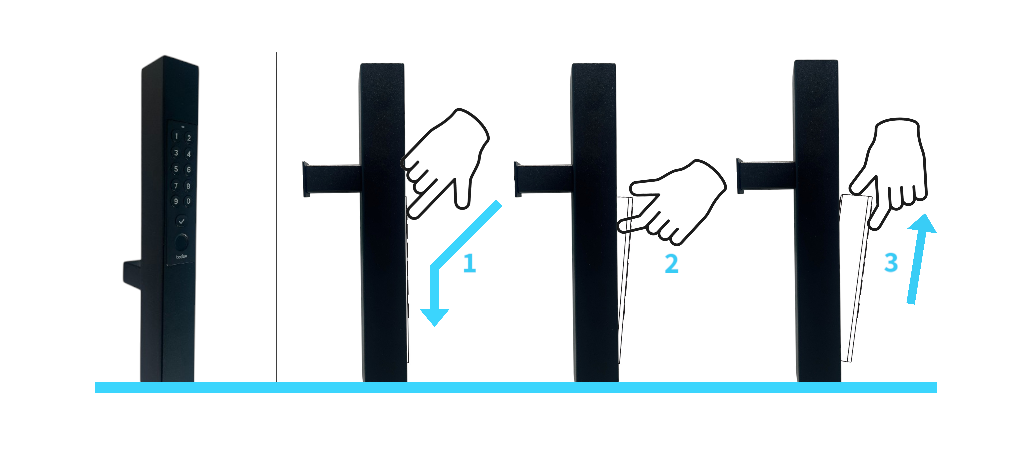
To remove the Keypad PRO from the pull bar, press the top of the device with your finger and slide it downward.
The device will tilt slightly outward, with its upper half protruding from the pull bar. Grip the Keypad PRO and remove it from its slot by sliding it upward.