How is Tedee smart lock installed? Video tutorial
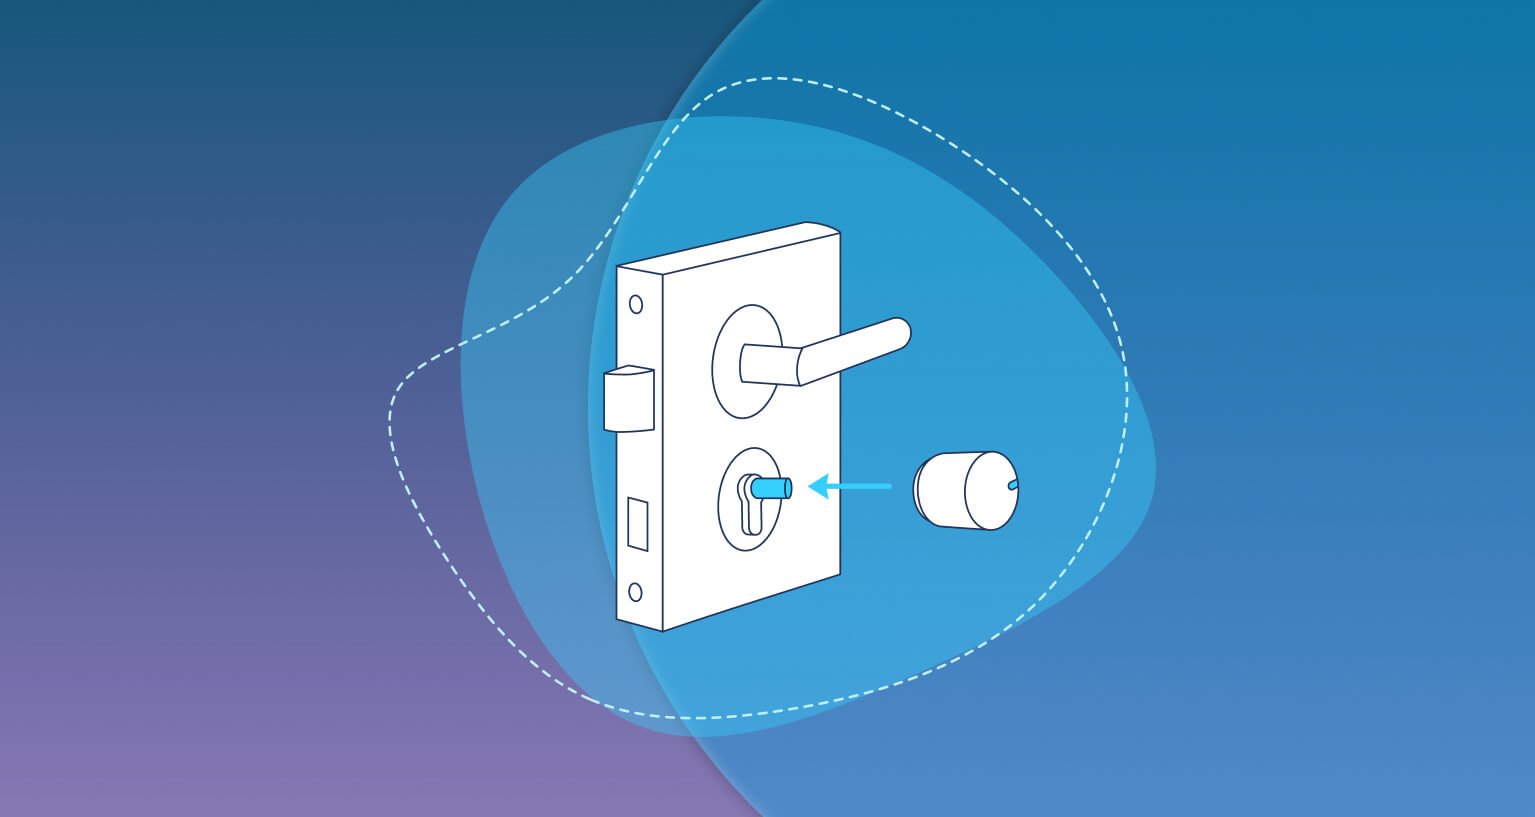
Installing a smart lock on your door is fast and easy, though it requires attention to detail. In our video tutorial and step-by-step guide, you’ll find what you need to know.
The video and guide below begin after your lock cylinder is already on your door. Beforehand, you would have already installed your modular cylinder.
If you have not yet, see the guides for the assembly of GERDA or M&C cylinders. To see how to install Tedee with dedicated adapters, go to tutorials for European or Scandinavian locks.
Step 1: put the sticker on
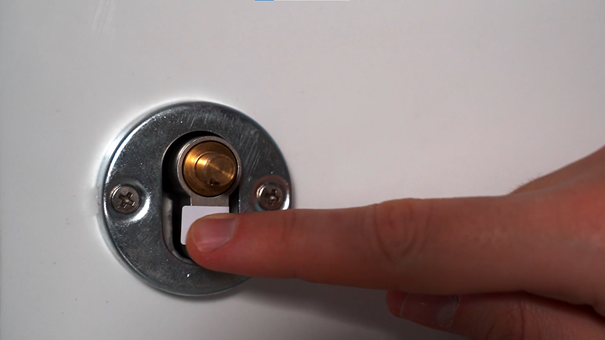
Before you move on to putting a smart lock on your hardware, stick a little sticker on the face of the cylinder. On the last page of an instruction manual, attached in the box of your Tedee, you will find two adhesive pieces. Stick one below the cylinder’s round, rotating piece.
Why? A smart lock is not fixed to the cylinder 100% tightly to ensure a proper fit. Such a method may cause it to rattle when opening or closing the door. A small, soft sticker placed between the cylinder and smart lock works as a bumper that decreases the noise.
Step 2: put the escutcheon back
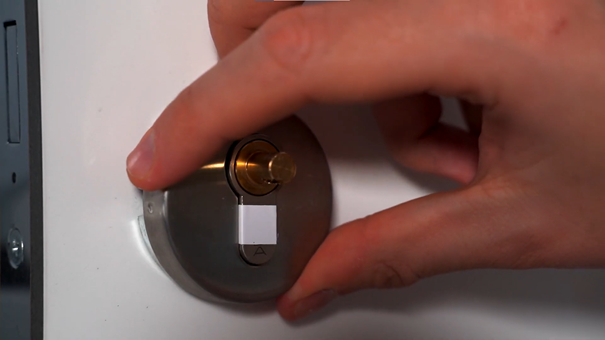
Make sure your cylinder’s hardware is in its final form before putting a smart lock on. Install your escutcheon, rosette, or handle’s backplate at this step.
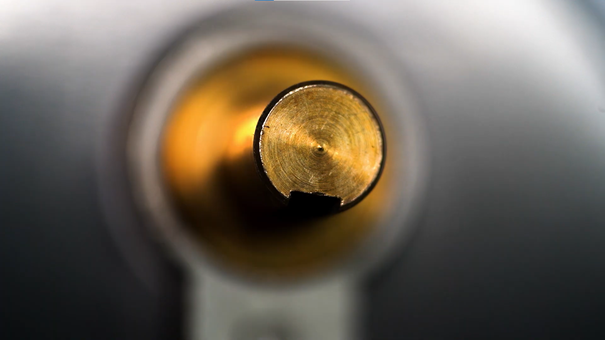
Step 3: point the cylinder notch downwards
Smart lock installation includes numerous moving pieces. Aligning the notch downwards will give you a better reference point in the following steps.
Step 4: make the screw inside stick out
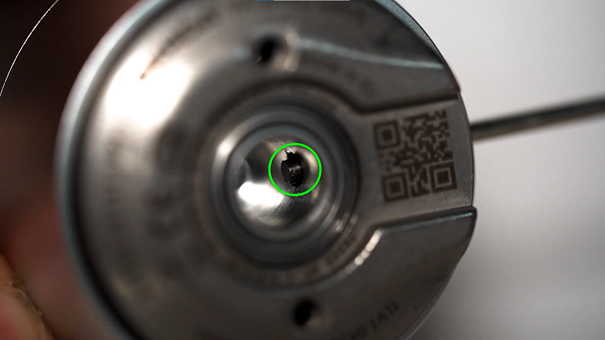
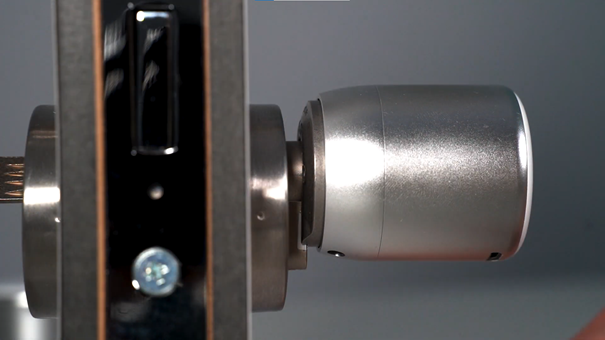
The smart lock attaches to the cylinder with just one screw. To place it precisely in the right spot, screw it in to stick about 1-2mm inside a smart lock’s space.
Step 5: uncover the screw slot
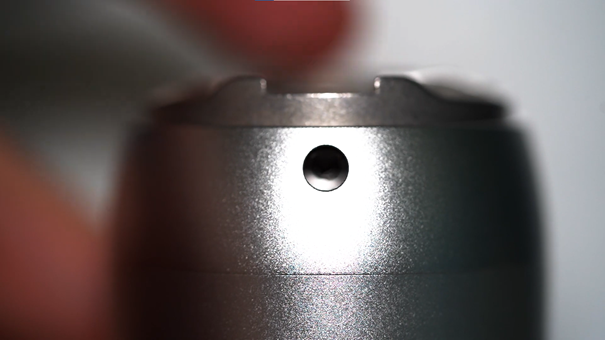
Rotate the base of a lock to uncover the round hole on the side. This step secures the alignment of rotating pieces required for proper screw placement.
Step 6: notice the shapes
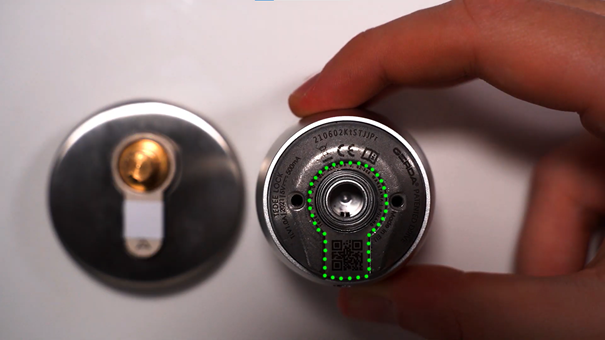
See how the indentation on a smart lock’s base matches the shape of a European cylinder? This is how the smart lock will lean on your lock. Stay aware of the forms that need to match in the following steps.
Step 7: place the lock on the cylinder
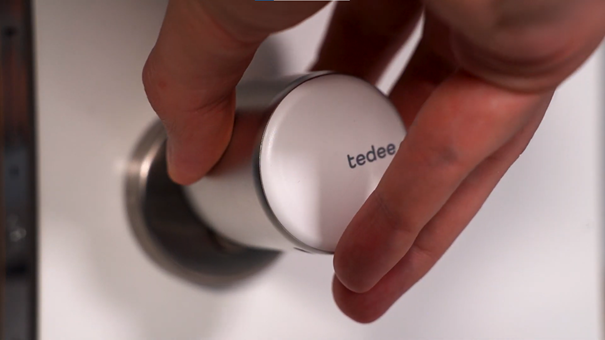
Put the lock on the cylinder. Ensure that the inner screw from Step 4 slides inside a Step 3 notch.
Step 8: match the base and slide in
Rotate the smart lock’s base slightly, so the shapes from Step 6 align, and the lock fully slides on the cylinder.
Step 9: fix the screw
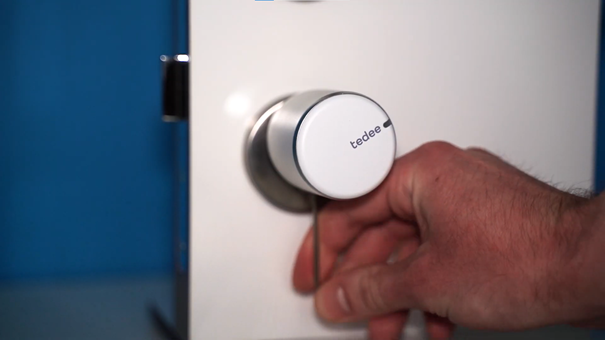
If you place the smart lock properly, you would be able to easily rotate the screw inside a hole at the bottom of a smart lock. You can do it with a Phillips key attached to your smart lock.
Now you can move on to the smart lock calibration. See the guide here >>


