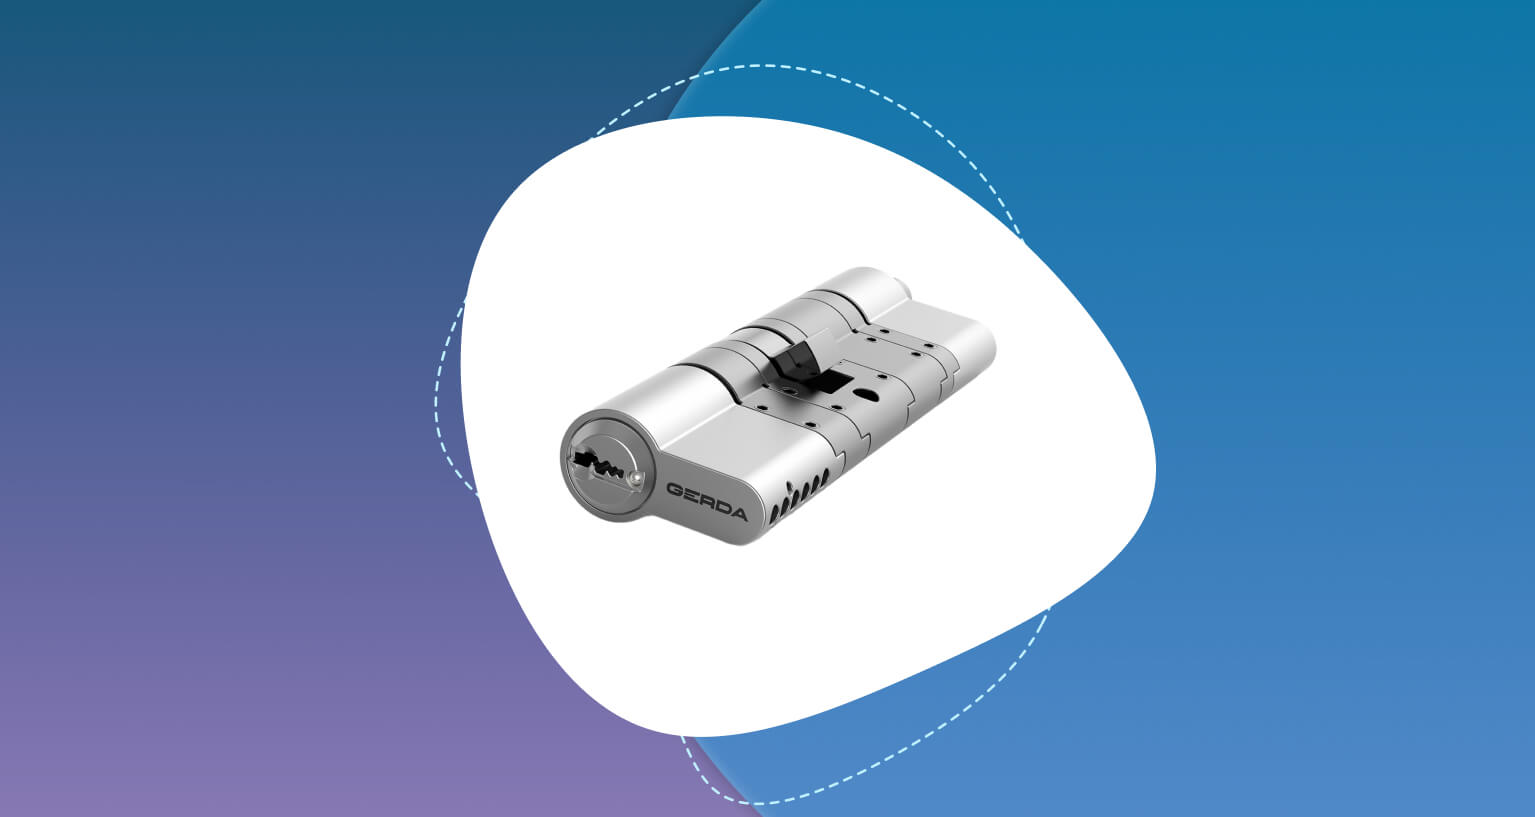
How to assemble and install GERDA modular cylinders
The modular construction of compatible GERDA cylinders let bring smart lock benefits to all European locks on the market. Available in both cam and gear variants, they adapt to various measurements and doors. But before you put one on your door, a new cylinder requires a quick and easy assembly. Follow the steps below for a smooth start.
At the Tedee online store, every cylinder order leads to an interactive form. Answering a couple of questions allows our specialists to select the best product for you from our range of hardware. Read our extensive guide if you wish to choose one by yourself or learn more about Tedee cylinders.
After your purchase arrives, but before it’s on your door, modular cylinders may require customisation to your existing door lock by choosing and securing their pieces together. Here, this process divides into preparation, assembly, and installation. Later you will be guided to the last steps, to enjoy smart lock benefits as soon as possible.
Tedee smart lock can be installed on Euro-profile door locks using an adapter. This method lets you keep your existing hardware and keys. Learn more about the European adapter here.
Preparation
How much does your cylinder protrude on the inside?
Look at the illustration and compare it to the door inside your property. Take a ruler and measure how much the cylinder protrudes from existing hardware: escutcheon or backplate. In the later installation stage, we will ensure that this distance is suitable for smart lock installation and adapt it if necessary.
Take the cylinder off the door
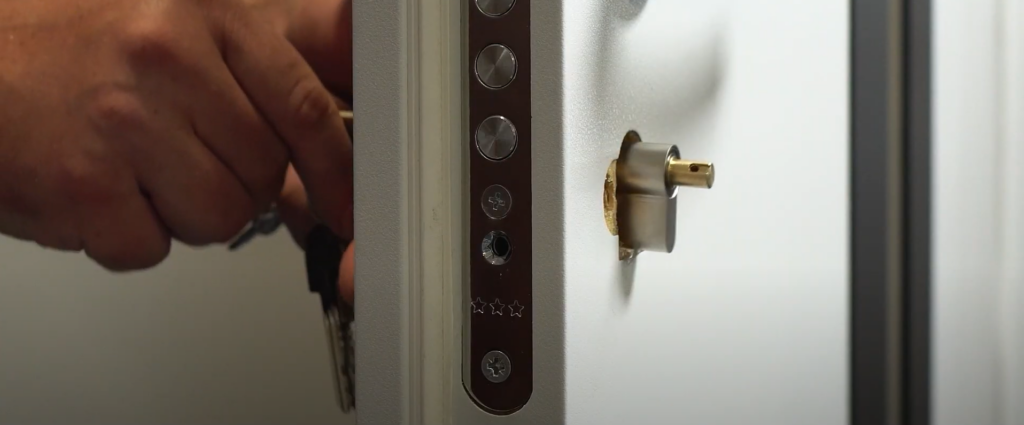
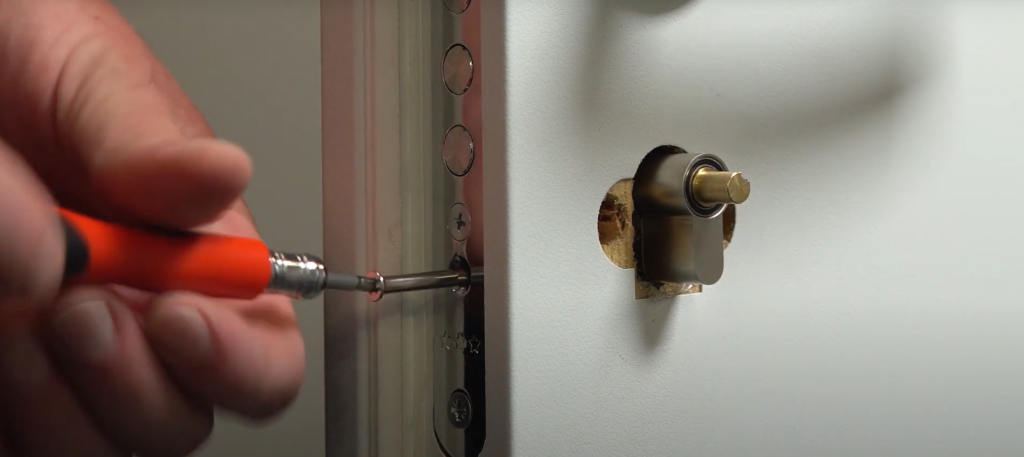
Remove all hardware covering the access to your cylinder: a backplate or escutcheon. Then remove the screw at the edge of the door, insert your key and slide the cylinder off the lock.
Measure the cylinder
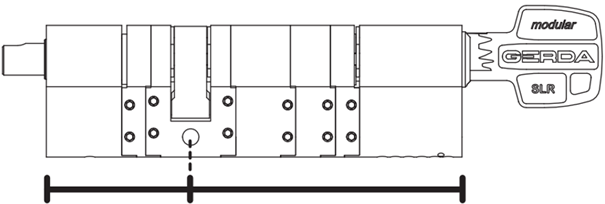
With a cylinder of the door and aware of its inside and outside directions, measure its two dimensions. In the centre of a cylinder, there is a screw hole – measure the length from its centre toward two ends. Write the measurements down, annotating inside and outside dimensions.
What’s your new cylinder’s length?
GERDA cylinders come in two sizes, allowing for different combinations of modules, hence final dimensions.
Before you determine your new cylinder’s final size, be aware of two aspects:
Outside length
Suppose your modular cylinder allows for regulation on the key side, and the precise reflection of the old cylinder is not available. In that case, we generally advise choosing the next available shorter size.
Inside length
Your old cylinder’s length might not have been suitable for smart lock installation. Come back to the measurement you took when it was still on your door. Check the table below to determine how to choose your final dimension.
How much did your cylinder protrude?
| Less than 2mm | Between 2 and 7mm | More than 7mm |
| Round up the inside length to the next longer size available. | Choose a new cylinder with an inside length as close to the old one as possible. | Round the inside length down to the shorter size available. |
With all context, compare your old cylinder’s dimensions with lengths available for your new one, compatible with Tedee. If necessary, round up or down according to the guidelines above. Write down your target dimensions.
| GERDA SLR 30-61MM / 30MM | GERDA SLR 30-61MM / 37-68MM | ||
| Outside
available key side lengths |
Inside
available tedee side lengths |
Outside
available key side lengths |
Inside
available tedee side lengths |
| 30mm | 30mm
36mm 40mm 45mm 46mm 51mm 55mm 61mm |
37mm
43mm 47mm 52mm 53mm 58mm 62mm 68mm |
30mm
36mm 40mm 45mm 46mm 51mm 55mm 61mm |
Assembling the cylinder
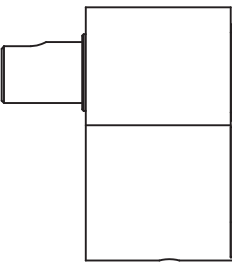
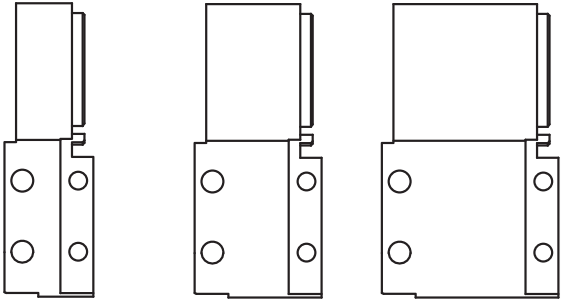
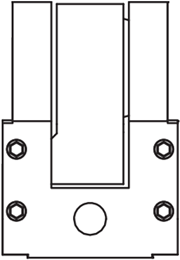
GERDA modular cylinders are composed of numerous pieces, mechanisms, and modules. Below you can find the main parts included in your box, with variants for two kinds of cylinder regulation.
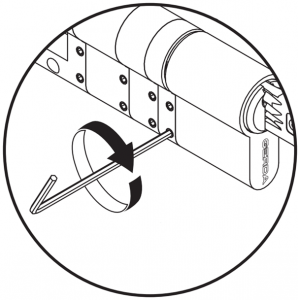
These are connected using screws and an Allen key included in your package.
| Tedee side module | Distance modules | Cam or gear module | Key side module |
 |
 |
 |
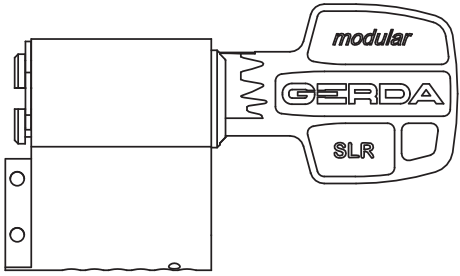 |
| Spools | Key side gear or cam module | ||
 |
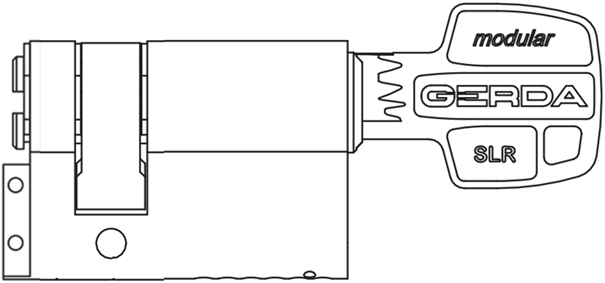 |
||
Selecting the modules
You can get down to the final assembly with your desired cylinder lengths and cylinder ready.
A new cylinder, straight from the box, may already connect some pieces. If the default dimensions are not suitable for your door, you may need to start by taking the cylinder apart.
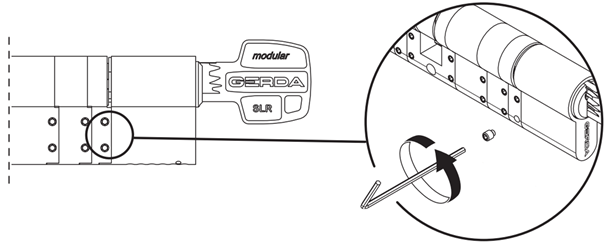
To do that, remove four small screws from every module, two per side.
When disassembling the cylinder, mind the spools placed inside the modules.
Now get back to the obtained target dimensions. You can find which modules to choose for obtaining them in the table below. According to these “recipes,” select the pieces and their corresponding spools.
| Modules to add to the key side | Desired key side length | Desired Tedee side length |
Modules to add to the Tedee side |
| none | 30 | 30 | none |
| none | 37 | 36 | 6mm |
| 6mm | 43 | 40 | 10mm |
| 10mm | 47 | 45 | 15mm |
| 15mm | 52 | 46 | 6mm + 10mm |
| 6mm + 10mm | 53 | 51 | 6mm + 15mm |
| 6mm + 15mm | 58 | 55 | 10mm + 15mm |
| 10mm + 15mm | 62 | 61 | 6mm + 10mm + 15mm |
| 6mm + 10mm + 15mm | 68 |
Securing the modules
With your combination of modules and their spools prepared, now you can move on to securing them in place for the final form of your cylinder.
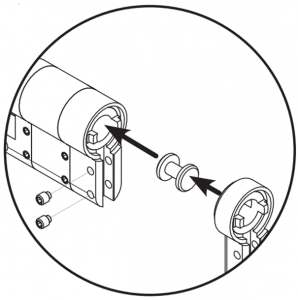
When joining two modules together, start by inserting a corresponding spool inside, then matching the shapes of the inner rotating mechanism. See the detail highlighted with blue on the illustration below.
Now secure every module with four screws, two on each side.
 |
 |
In the end, your new cylinder should be approximately the same dimensions as your existing one.
Old cylinder
New GERDA cylinder
Before installing the cylinder on your lock, rotate the key on one side and check if the smart lock knob rotates as well. This test verifies a proper connection of modules and their rotating parts. If this test fails, disassemble the cylinder and check if the rotating pieces fit together and the matching modules’ spools are inside each module.
Cylinder installation
With the key inserted, slide the cylinder into the lock with a Tedee knob on the inside.
Secure the cylinder to the lock with a screw on the side.
Afterwards, install your escutcheon, handle or backplate.
With a cylinder on your door, you can now continue to install a smart lock and then calibrate it.

