How to install Tedee smart bridge?
Plug and play: smart bridge installation takes minutes but enables 24/7 access to your lock, no matter where you are.
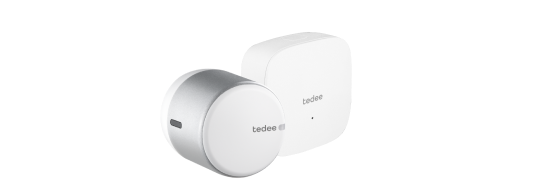
Adding a smart bridge to your smart lock setup is a quick and reasonably priced solution that gives it the entirety of its smart abilities. Learn about Tedee smart bridge – and if you need it >>
Smart bridge installation takes minutes, though it requires some consideration. Watch the video below and follow the steps to enjoy the remote control, access sharing, push notifications and up-to-date activity logs.
Step 1: find the right spot
Tedee smart lock may work autonomically. However, a smart bridge connects to other devices and must be placed in the right place to access both the lock and the internet source.
To assure swift integration, make sure the smart bridge is in the range of a smart lock’s Bluetooth and can access your local Wi-Fi network.
See the recommended distances in the table below to determine the area where the two ranges intersect.
 |
Up to 2m | 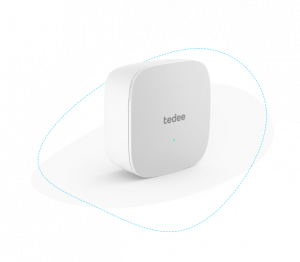 |
Up to 10m |  |
| Tedee smart lock | ↔ | Tedee smart bridge | ↔ | Wi-Fi internet source |
Remember that recommended maximum distance may be affected by walls, doors, etc. These may require the smart bridge and internet source to be closer together.
Finding a suitable location for a smart bridge may influence your method of powering it.
Step 2: is there a power socket?
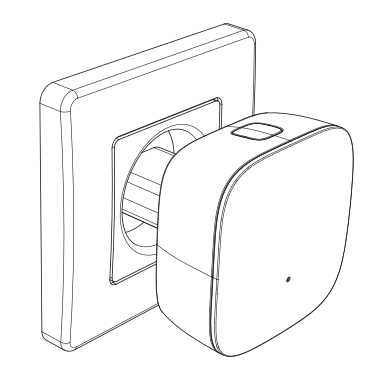
A power socket in a suitable range is the perfect source for powering your smart bridge. If it is vacant, you may use a direct power plug. If it is not suitable for plugging a bridge directly, as in the photo below, you may use a USB cable connected to a USB charger and the socket. This solution gives you more flexibility when placing (or hiding) the smart bridge.
What if there is no power socket?
It may be an issue, as the smart bridge must connect to the energy source at all times. However, the power may be sourced from other devices with USB plugs, such as computers or power banks.
If you connect a smart bridge to a source that is not permanently powered, you need to make sure to keep its battery on a suitable level.
The smart bridge has no built-in battery and does not display the energy level of connected devices, such as power banks or laptops. If the energy source’s power runs out, the smart bridge will turn off, and the remote features will not be accessible. You can still control your smart lock, though, via Bluetooth only.
Step 3: Choose the installation method
Tedee smart bridge is powered through a USB charger. This solution gives you two methods for connecting it to a power outlet.
 |
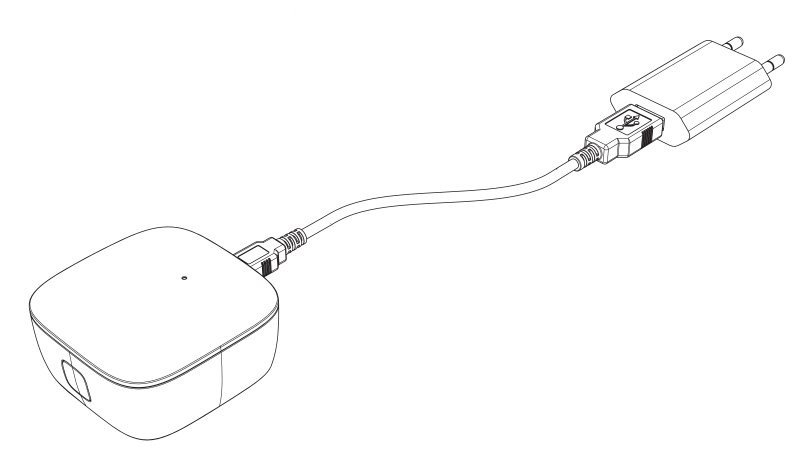 |
| Direct plug | USB cable |
According to the chosen installation method, go to Step 3a for a direct plug or 3b for a USB cable.
Step 3a: connect directly with a plug
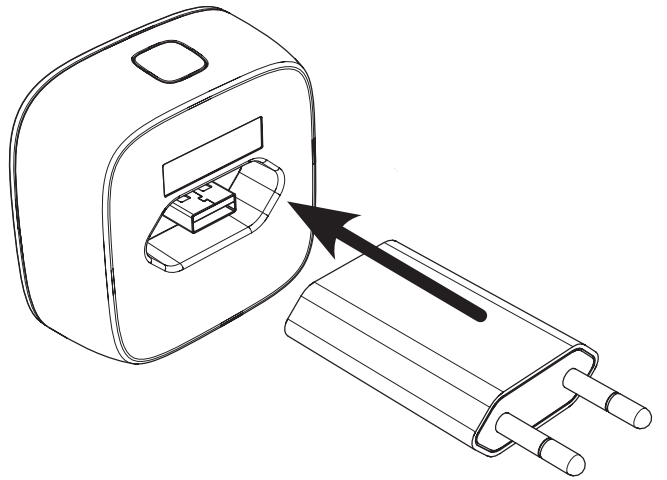
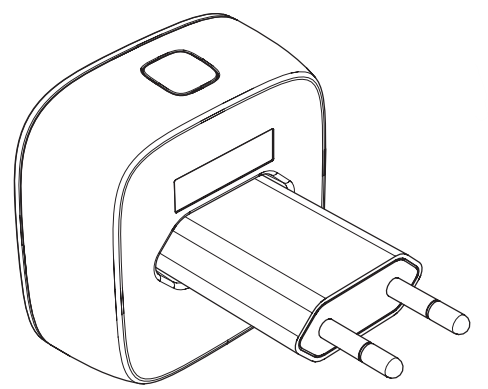
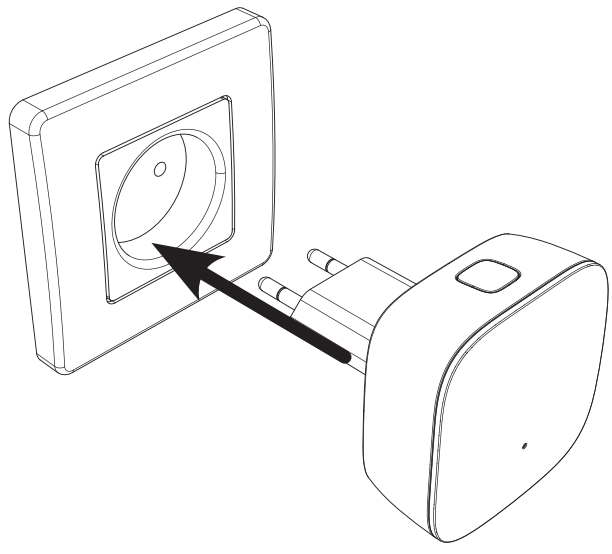
Use a USB charger included in the smart bridge’s box for the simplest installation.
Connect it to a smart bridge first, then plug it into a power socket.
 |
 |
 |
Step 3b: connect with a cable
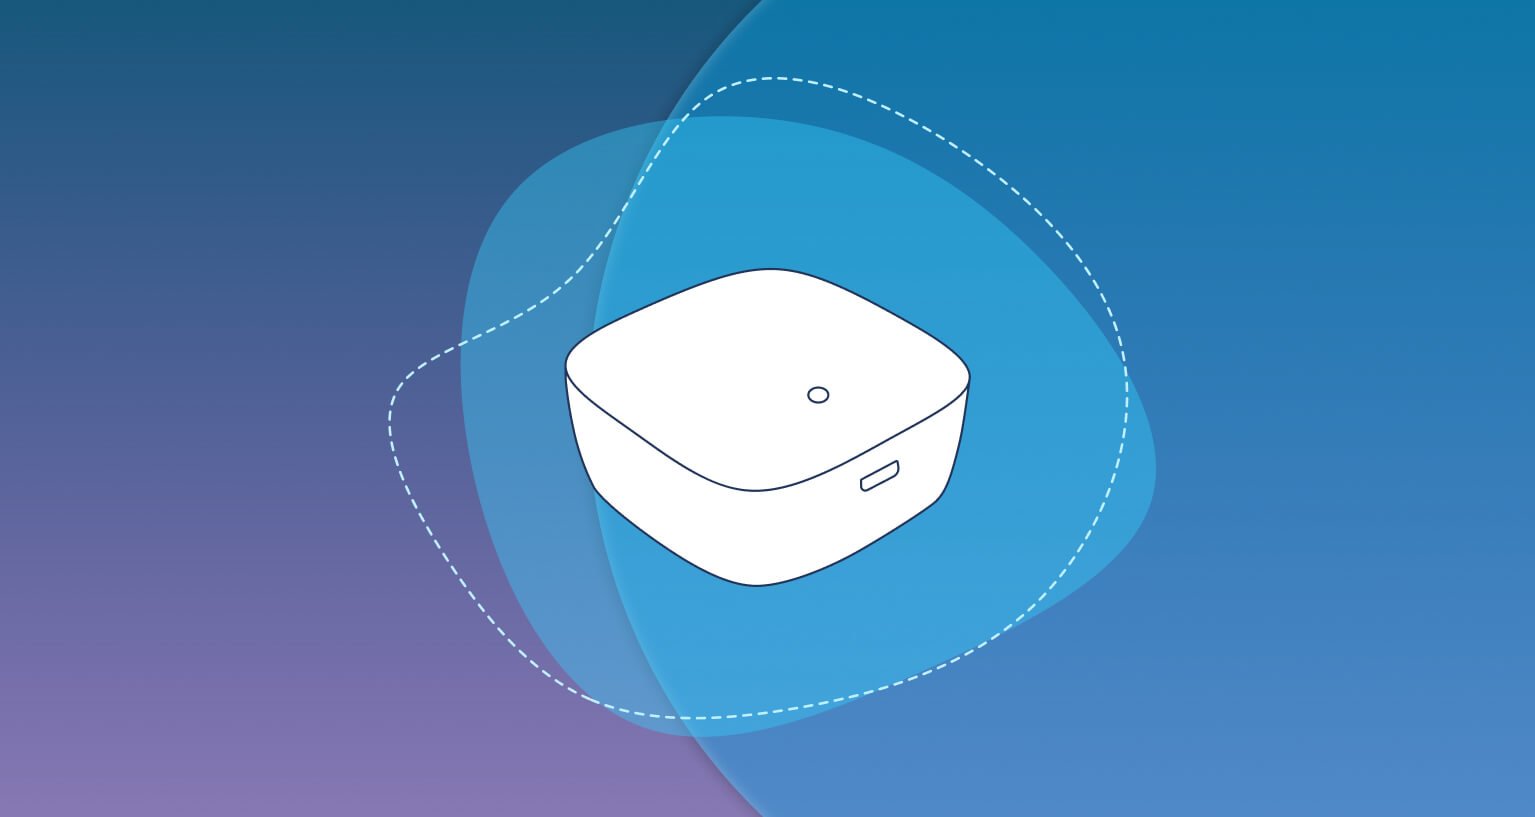
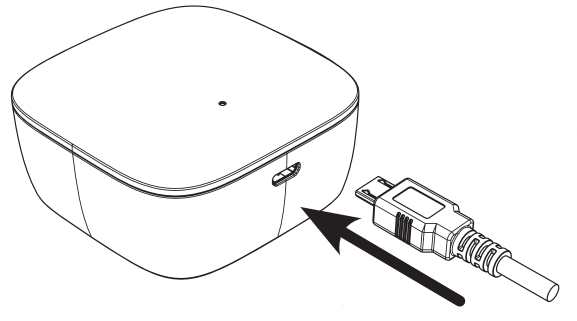
You may connect the smart bridge to any USB device using a cable plugged into its micro USB port. Be aware that the USB cable is not included in the box.
This installation method gives you full flexibility: connect the smart bridge to a power bank, connect it to a power socket in tight spaces, or extend cords.
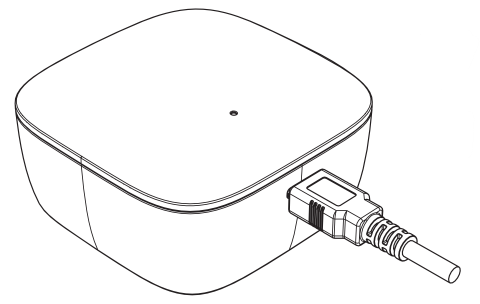
Plug the cable into the micro USB port and connect it to a power source of your choice, in the range determined in Step 1. You may use the USB charger in the box to connect it to a power socket.
 |
 |
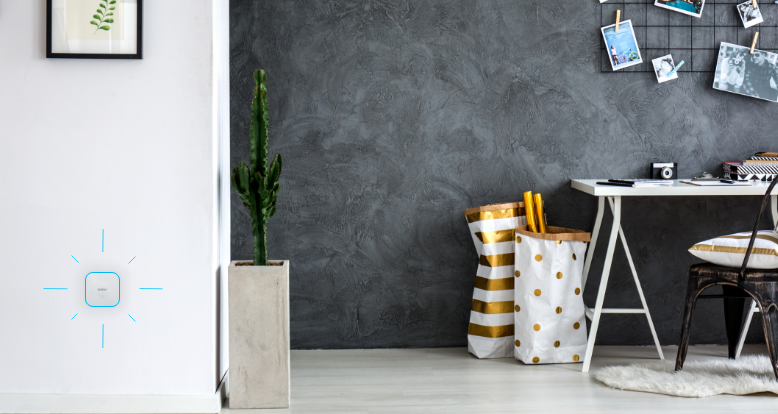
The smart bridge turns on automatically. After connecting it to a power source, the LED blinks four times. Afterwards, the device is ready to be added to the Tedee app.


